 This is not the first toothbrush of Amy's the kids have ruined. Amy now tries to hide her toothbrushes.
This makes me wonder if incidents like this are like bugs...if you've seen one, numerous others have gone unseen. :)
 This is not the first toothbrush of Amy's the kids have ruined. Amy now tries to hide her toothbrushes.
 How sweet is that!
 Everything looked good so I removed more dry wall roughly the size of what I expected the opening to be.
 At this point, I figured out that the wall I was cutting into was a load bearing wall. I knew this was a possibility when I started but now I was sure. Also, there was another load bearing support for the stairs. I needed to be careful before going any further. I wanted to remove five 2x4s.
 I then had a tight squeeze to build my new truss. After some online research, I found I could build the truss out of two side by side 2x4s. That should be sufficiently strong to span a four foot gap and I only needed to span a little more than three feet.
 Here is a view of the truss I built from the inside of the closet with the temporary supports removed (other than the one that was helping with the stairs).
 As you can see, the truss and the bottom of the stairs dictated how tall I could make the closet. I made it as tall as I possibly could where I still had room for a truss. (I considered finding a metal truss which would have given me another two to three inches in possible closet height.)
 Next, I framed out the rest of the closet and built another truss to support the load of the stairs.
 Finally, a clean opening that I did not need to shimmy through!
 Since the main purpose of this closet was to contain a second fridge, I needed to add an outlet. While I had the wall open, I decided to also add an outlet in the pantry and another in the laundry room, neither of which previously had an outlet. (I can't believe our laundry room did not have an outlet other than the ones for the washer/dryer.)
 The outlet facing away is going into the pantry while the one facing forwards is the one that will be used by the fridge.
 Here are the new outlets I added to the laundry room and the pantry.
 With the electrical done, it was time to put up the dry wall. In the picture below, you can see two mistakes I made. The first is the one inch of wood you can see on the left. That happened because I thought the hole was going to be slightly larger before I finalized my truss design. The second is a near half inch gap to the left of the outlet. (I'm not sure how I did that one.) Thankfully, both could easily be fixed with some scrap wood, tape, and mud.
 With the drywall up, it was time to tape and mud. The kids have been very interested in the closet I was building. They referred to it as "the hole." The loved checking my progress and would even help out with the tools I left in there. Here are the twins doing some extreme, pants- less, mudding.
 Here is picture of the completed mudding. You can't really see it here but I put on some metal edges to provide tough, neat edges. Also, you should no longer be able to see my previously mentioned mistakes (other than the extra mud next to the outlet).
  You can see the metal edge better here.
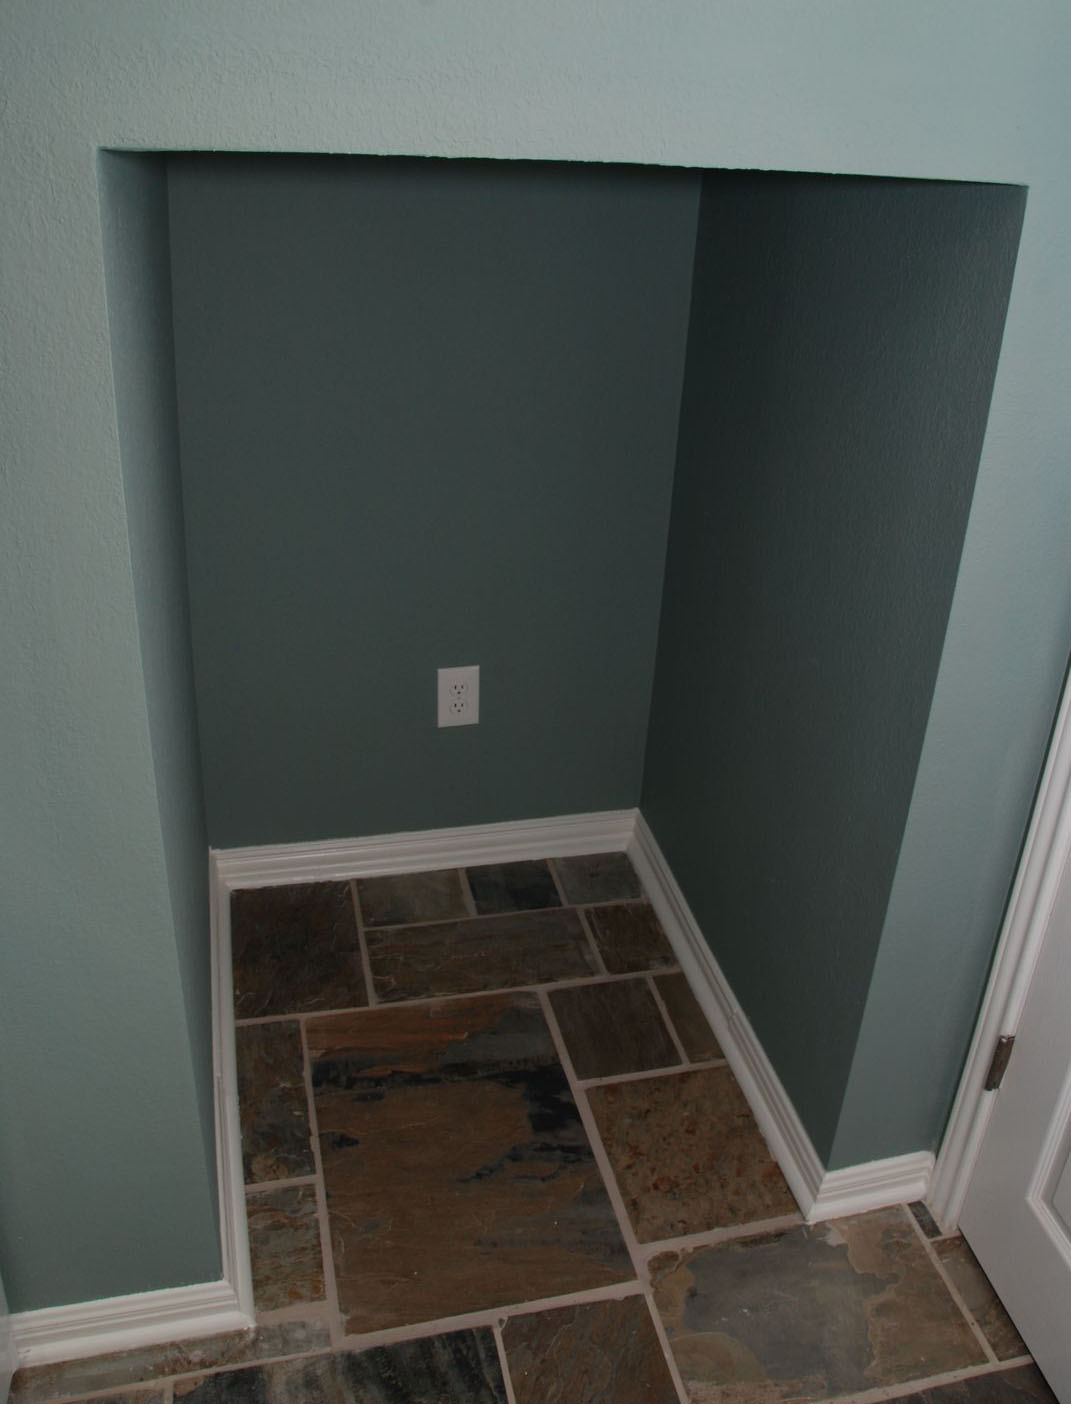
 After the mudding was done, it was time for texture. The texturing was the one part of the project where I was not confident in my ability. I had done most things in this project before but I had never textured. I told Amy my goal was to not have any trim around the closet entrance but if the texture did not look right, I would hide it with trim. So, if you saw trim, you'd know I wasn't happy with the texture.
 After installing my first tile, I put up some baseboards and quarter rail. I could not find any baseboards that matched exactly so I just bought something similar. I reused the portion of baseboard I originally removed from the wall to make the outer corners look good where the non-matching stuff is further back in the closet where you can't really see it.
 Here is the new deep freezer we bought. We were able to fit an 8.8 cubic foot freezer. Ideally, we would have found a fridge/freezer with a large freezer but we were limited on our height. We decided we'd rather have a large freezer only than a smaller fridge/freezer combo where the freezer is very small.
 Amy spent the week trying to fill up the freezer. I bet she'll have it completely full in the next couple weeks. I think we are really going to enjoy our new freezer.
 My family and I packed up and headed to Dallas for the occasion. We missed the birth by a few hours but were happy to be in Dallas soon after. George needed to spend some time in the NICU but I can tell he is a strong guy and will be out very soon...hopefully, tonight! I was one of the lucky few who got to go back to the NICU to see the little man.

 George is my sister's first child and is the first baby in the family younger than the twins. I guess it is official that the twins are no longer babies.
 I ended up with about a dozen pieces on the lines of this.
 I hollowed out the ones that could be hollowed out and then attached them together with glue and screws. None of the screws are visible except the last ones on the horse butt.
 I then sanded the horse and painted numerous coats on with spray paint. The paint ended up being by far the most expensive part of the project. After a basic brown coat on the horse and a white coat on the base, I pained the horse face, spots, and hoofs by hand. I then gave the entire horse a couple coats of spray gloss.
 The finishing touches included a tail and mane I tied together out of dark brown yarn. I then attached some red reigns (which were originally purposed for curtains) with a couple screws and clips.
 Here is a close up of the finished face.
 Of course, I needed to test it out to make sure it was safe enough for the twins...
 It passed.
 They kids very excited when they first saw it. Caroline got the first ride of course.
 At this moment, I realized I made it a little bit too tall. :) Oh, well. It still works and the kids can grow into it. Caroline holds on to the reigns or ears (which was planned) and wraps her legs around the body (which was not planned).
 Caroline and Caden often give the other "rides" by pulling on the reigns to make the horse rock while the other is on the horse. Here is the first time they did that.
 As you can see, Michael Jordan was having a lot of fun.
 I hope the twins enjoy the the horse for many years. They ride it almost daily and tell almost everyone that comes over that I made it for them. That makes the whole building experience worthwhile. That and my new Ridgid Multi-Max.
 PS: Caroline did go to bed with pajama bottoms on. She just decided to take them off--which she does every once in awhile after I tuck her in and leave her room. Also, when I left the room, all her animals were nicely lined up on the wall at the bottom of the picture.


