A few months ago, Amy and I were talking about wanting a second fridge/freezer. Then, one day, I got to thinking about all the the wasted space beneath our stairs. I thought there would be enough space for a small fridge or freezer with an opening in our laundry room (which opens into our kitchen). I mentioned this to Amy who thought it was a great idea. She immediately re-prioritized my "honey, todo" list with this on the top. Thankfully, I didn't mind since this sounded like a fun project to me.
I started by creating a small hole so I could see if my idea was plausible. Here is the tiny hole I created that I would patch if the closet didn't work out.

Everything looked good so I removed more dry wall roughly the size of what I expected the opening to be.

At this point, I figured out that the wall I was cutting into was a load bearing wall. I knew this was a possibility when I started but now I was sure. Also, there was another load bearing support for the stairs. I needed to be careful before going any further. I wanted to remove five 2x4s.
After some online research, I figured out how to safely remove the load bearing wall.
First, I added some temporary supports. Basically, I attached a few new 2x4s next to the ones I planned to remove. I then removed the load bearing 2x4s with the Ridgid Multi-Max tool I mentioned in a previous post. I was very thankful to have this tool since I had very, very little room to work with. My reciprocating saw was way to big to make the cuts on top but the Multi-Max made short work of the situation.
Here is a picture after the load bearing 2x4s were removed but my temporary supports are still in place.

I then had a tight squeeze to build my new truss. After some online research, I found I could build the truss out of two side by side 2x4s. That should be sufficiently strong to span a four foot gap and I only needed to span a little more than three feet.
Basically, I wanted to build something like the following. The three 2x4s at the top represent the load bearing wall. The two horizontal 2x4s will take the load of the wall and transfer it to the four vertical 2x4s which rest on the frame.

Here is a view of the truss I built from the inside of the closet with the temporary supports removed (other than the one that was helping with the stairs).

As you can see, the truss and the bottom of the stairs dictated how tall I could make the closet. I made it as tall as I possibly could where I still had room for a truss. (I considered finding a metal truss which would have given me another two to three inches in possible closet height.)
Here is a view from outside the closet. I now had more space to climb into and out of the closet. Also, I removed the 2x4 attached to the foundation and the baseboard which I reused later in the project.

Next, I framed out the rest of the closet and built another truss to support the load of the stairs.
I started by attaching some 2x4s to the foundation and then framed out the rest of the closet. Here is the framed closet and truss for the stairs. (After taking this picture, I attached a few more boards at the top of the closet to help anchor the ceiling drywall.)

Finally, a clean opening that I did not need to shimmy through!

Since the main purpose of this closet was to contain a second fridge, I needed to add an outlet. While I had the wall open, I decided to also add an outlet in the pantry and another in the laundry room, neither of which previously had an outlet. (I can't believe our laundry room did not have an outlet other than the ones for the washer/dryer.)
Here is my electrical work. I put the pantry plug on one of the kitchen lines and I put the fridge/laundry room outlets on the breaker for our study.


The outlet facing away is going into the pantry while the one facing forwards is the one that will be used by the fridge.

Here are the new outlets I added to the laundry room and the pantry.

With the electrical done, it was time to put up the dry wall. In the picture below, you can see two mistakes I made. The first is the one inch of wood you can see on the left. That happened because I thought the hole was going to be slightly larger before I finalized my truss design. The second is a near half inch gap to the left of the outlet. (I'm not sure how I did that one.) Thankfully, both could easily be fixed with some scrap wood, tape, and mud.

With the drywall up, it was time to tape and mud. The kids have been very interested in the closet I was building. They referred to it as "the hole." The loved checking my progress and would even help out with the tools I left in there. Here are the twins doing some extreme, pants- less, mudding.


Here is picture of the completed mudding. You can't really see it here but I put on some metal edges to provide tough, neat edges. Also, you should no longer be able to see my previously mentioned mistakes (other than the extra mud next to the outlet).

You can see the metal edge better here.

After the mudding was done, it was time for texture. The texturing was the one part of the project where I was not confident in my ability. I had done most things in this project before but I had never textured. I told Amy my goal was to not have any trim around the closet entrance but if the texture did not look right, I would hide it with trim. So, if you saw trim, you'd know I wasn't happy with the texture.
I used two and a half cans of spray texture. The cans were a little pricey but they did a nice job and I was able to pretty much match the existing texture. You can tell I was happy it in the final picture because I did not hide the texture with trim.
After the texture dried, I was ready to paint. The previous home owner left three different shades of green that all looked similar to the laundry room. After some test spots, I found none of them matched. :) I decided to mix them together and put a green primer coat. I then took a piece of the drywall I removed to HomeDepot so they could match the paint. They did a nice job and the paint looked good.
The end of the project was within site. I removed one piece of existing tile so I could make the tile look more like it belonged. Thankfully, the previous home owner left us some extra tile. And once again, my Multi-Max and a tile removing bit was invaluable.

After installing my first tile, I put up some baseboards and quarter rail. I could not find any baseboards that matched exactly so I just bought something similar. I reused the portion of baseboard I originally removed from the wall to make the outer corners look good where the non-matching stuff is further back in the closet where you can't really see it.
Here is the final product. Both Amy and I are happy with how it turned out. Our kids liked dancing in the finished "hole" and asked to see it numerous times.

Here is the new deep freezer we bought. We were able to fit an 8.8 cubic foot freezer. Ideally, we would have found a fridge/freezer with a large freezer but we were limited on our height. We decided we'd rather have a large freezer only than a smaller fridge/freezer combo where the freezer is very small.

Amy spent the week trying to fill up the freezer. I bet she'll have it completely full in the next couple weeks. I think we are really going to enjoy our new freezer.
Someday, I plan to build some sort of pull out shelf system to take advantage of the ten inches of extra space we have next to the fridge.
 He made it all the way in and wanted the doors shut.
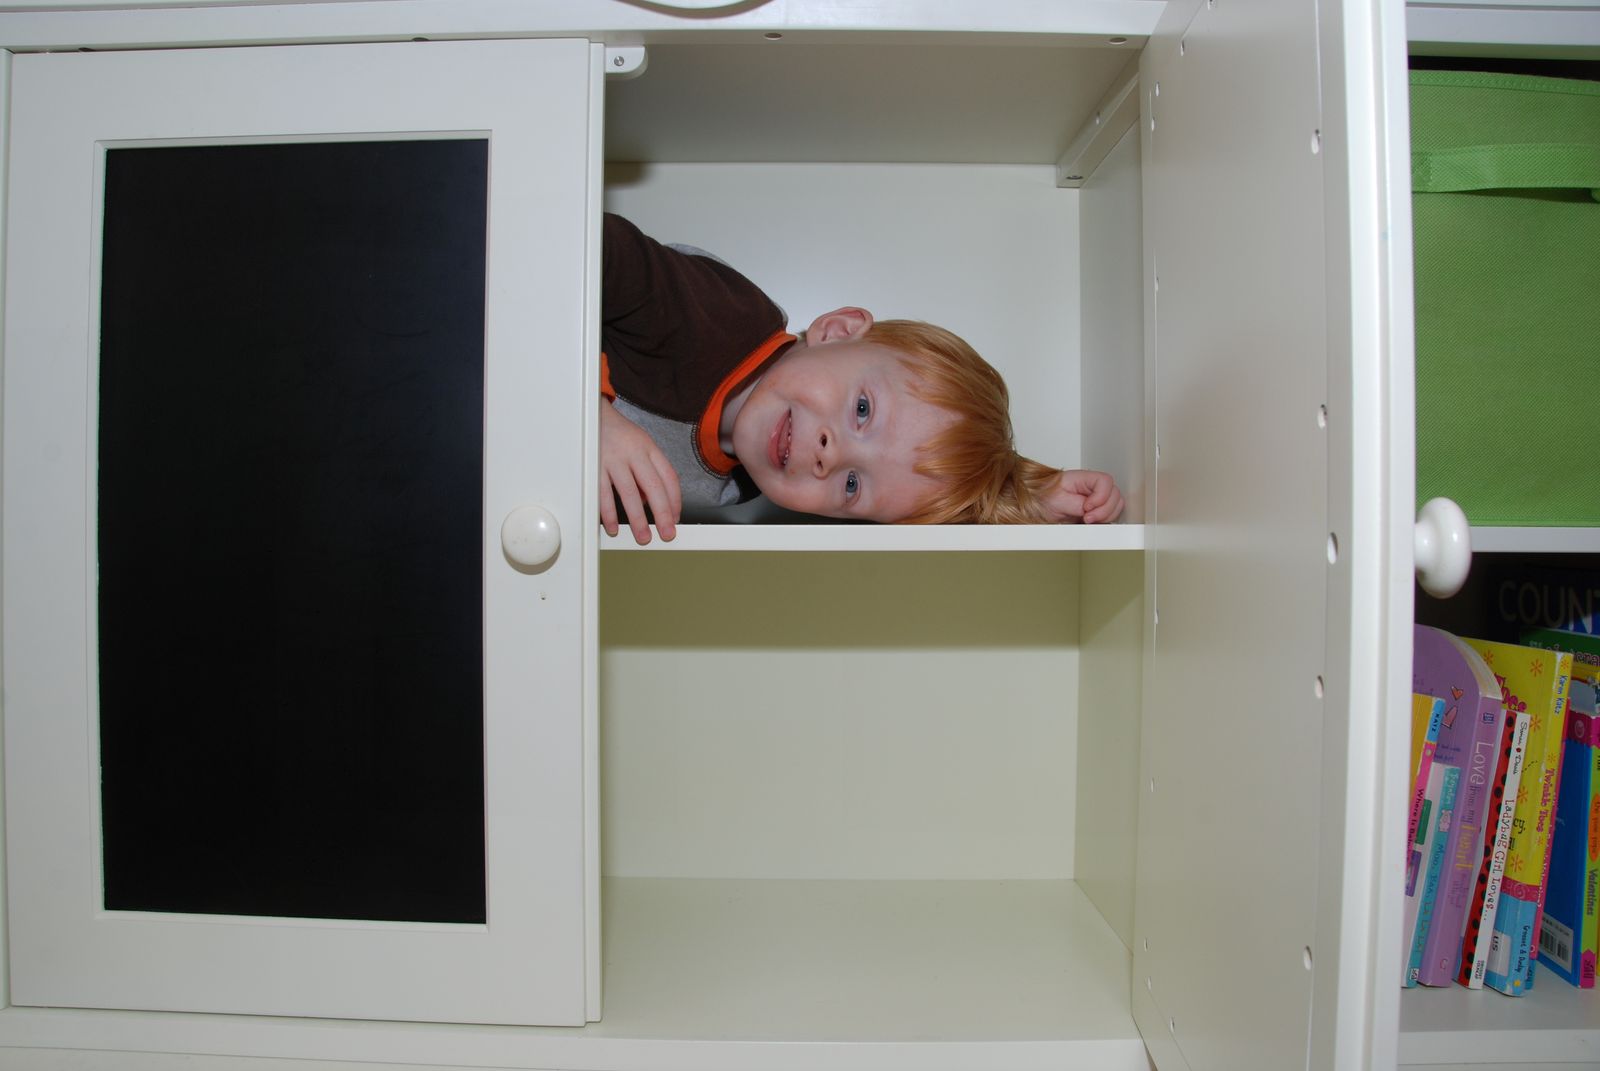 "Where's Caden?!?"
 Caroline decided to get in on the action.
 They love flinging the doors open.
 Caden was very proud of his game.


 I like this one because it looks like he is just out by himself. But don't worry, I was close enough to prevent him from falling.
 Caden was extremely proud of what he accomplished. So was Daddy. Grandma, who was watching nearby, was relieved it was over.
 After watching Caden, Caroline decided to give it a try.
 Caroline -- "All done! Daddy, help! Caden's turn! All done!"
 Caroline is a good climber and has the height advantage, but, unlike Caden, she has a little fear in her. I'm sure she'll get to the top soon enough.
 Before we went to the hospital to visit, we stopped off at In 'N' Out Burger for lunch. Neither I or the kids had ever been. I've good things about the place for years and was happy when they finally made it to Dallas. I always wanted to check it out.
 As I wrote about before, that night, Caroline slept in a big girl bed for the first time. Successfully, I might add.
 After our first visit to the hospital and before Caroline went to bed, we rode the Dallas train for the first time. We used it to get from my mom's house to the hospital. There was a nearby train station that went directly to the hospital. The train ride was going to take 45 minutes...which might have been even faster than if we drove. It took us an hour and fifteen minutes to return from the hospital in the early afternoon.
 Caden was excited right up until we got on the train. Then, for some reason, he got nervous and wanted to get off. He did warm up to the ride after a few minutes (and pacifier) later.
 Caroline, Mommy, and puppy, started out on one bench while Caden and I were on another.
 But soon after we left the station, both twins ended up next to me. I thought that was great! Amy was also happy about the seating.
 Caroline wanted to make sure her puppy got to see everything out the window. She was very concerned about that.
 We were a little worried about taking the train but we loved it! If we lived in Dallas, we'd definitely use the train. We are already trying to think of reasons to take the train again. Like to the Dallas zoo. Austin should really take note. The train system here is mostly worthless.


 Caden was very excited for Caroline and wanted to try out her new bed.
 Both kids played in the bed for awhile.
 Since converting Caroline's crib to a toddler bed, Caroline has continued to sleep very well.
 This is not the first toothbrush of Amy's the kids have ruined. Amy now tries to hide her toothbrushes.
 How sweet is that!
 Everything looked good so I removed more dry wall roughly the size of what I expected the opening to be.
 At this point, I figured out that the wall I was cutting into was a load bearing wall. I knew this was a possibility when I started but now I was sure. Also, there was another load bearing support for the stairs. I needed to be careful before going any further. I wanted to remove five 2x4s.
 I then had a tight squeeze to build my new truss. After some online research, I found I could build the truss out of two side by side 2x4s. That should be sufficiently strong to span a four foot gap and I only needed to span a little more than three feet.
 Here is a view of the truss I built from the inside of the closet with the temporary supports removed (other than the one that was helping with the stairs).
 As you can see, the truss and the bottom of the stairs dictated how tall I could make the closet. I made it as tall as I possibly could where I still had room for a truss. (I considered finding a metal truss which would have given me another two to three inches in possible closet height.)
 Next, I framed out the rest of the closet and built another truss to support the load of the stairs.
 Finally, a clean opening that I did not need to shimmy through!
 Since the main purpose of this closet was to contain a second fridge, I needed to add an outlet. While I had the wall open, I decided to also add an outlet in the pantry and another in the laundry room, neither of which previously had an outlet. (I can't believe our laundry room did not have an outlet other than the ones for the washer/dryer.)
 The outlet facing away is going into the pantry while the one facing forwards is the one that will be used by the fridge.
 Here are the new outlets I added to the laundry room and the pantry.
 With the electrical done, it was time to put up the dry wall. In the picture below, you can see two mistakes I made. The first is the one inch of wood you can see on the left. That happened because I thought the hole was going to be slightly larger before I finalized my truss design. The second is a near half inch gap to the left of the outlet. (I'm not sure how I did that one.) Thankfully, both could easily be fixed with some scrap wood, tape, and mud.
 With the drywall up, it was time to tape and mud. The kids have been very interested in the closet I was building. They referred to it as "the hole." The loved checking my progress and would even help out with the tools I left in there. Here are the twins doing some extreme, pants- less, mudding.
 Here is picture of the completed mudding. You can't really see it here but I put on some metal edges to provide tough, neat edges. Also, you should no longer be able to see my previously mentioned mistakes (other than the extra mud next to the outlet).
  You can see the metal edge better here.
 After the mudding was done, it was time for texture. The texturing was the one part of the project where I was not confident in my ability. I had done most things in this project before but I had never textured. I told Amy my goal was to not have any trim around the closet entrance but if the texture did not look right, I would hide it with trim. So, if you saw trim, you'd know I wasn't happy with the texture.
 After installing my first tile, I put up some baseboards and quarter rail. I could not find any baseboards that matched exactly so I just bought something similar. I reused the portion of baseboard I originally removed from the wall to make the outer corners look good where the non-matching stuff is further back in the closet where you can't really see it.
 Here is the new deep freezer we bought. We were able to fit an 8.8 cubic foot freezer. Ideally, we would have found a fridge/freezer with a large freezer but we were limited on our height. We decided we'd rather have a large freezer only than a smaller fridge/freezer combo where the freezer is very small.
 Amy spent the week trying to fill up the freezer. I bet she'll have it completely full in the next couple weeks. I think we are really going to enjoy our new freezer.